lifestyle

Opposable Thumbs

I am in the middle of my New Hampshire ice climbing stint and the conditions have been amazing. There was a rain event that happened a week before I got up here and then it froze again. This made many of the climbs super fat!

I was psyched when I got up here with all the fat ice but at the end of day one of guiding I was behind my van and slipped in the parking lot on the ice sheet that covered everything. After a second of airtime I hit really hard; laid there for a second, then noticed a weird feeling in my thumb. As I looked at it I knew it was not gonna just take a band aide. I was holding crampons and one of the points had sliced through down to the bone.

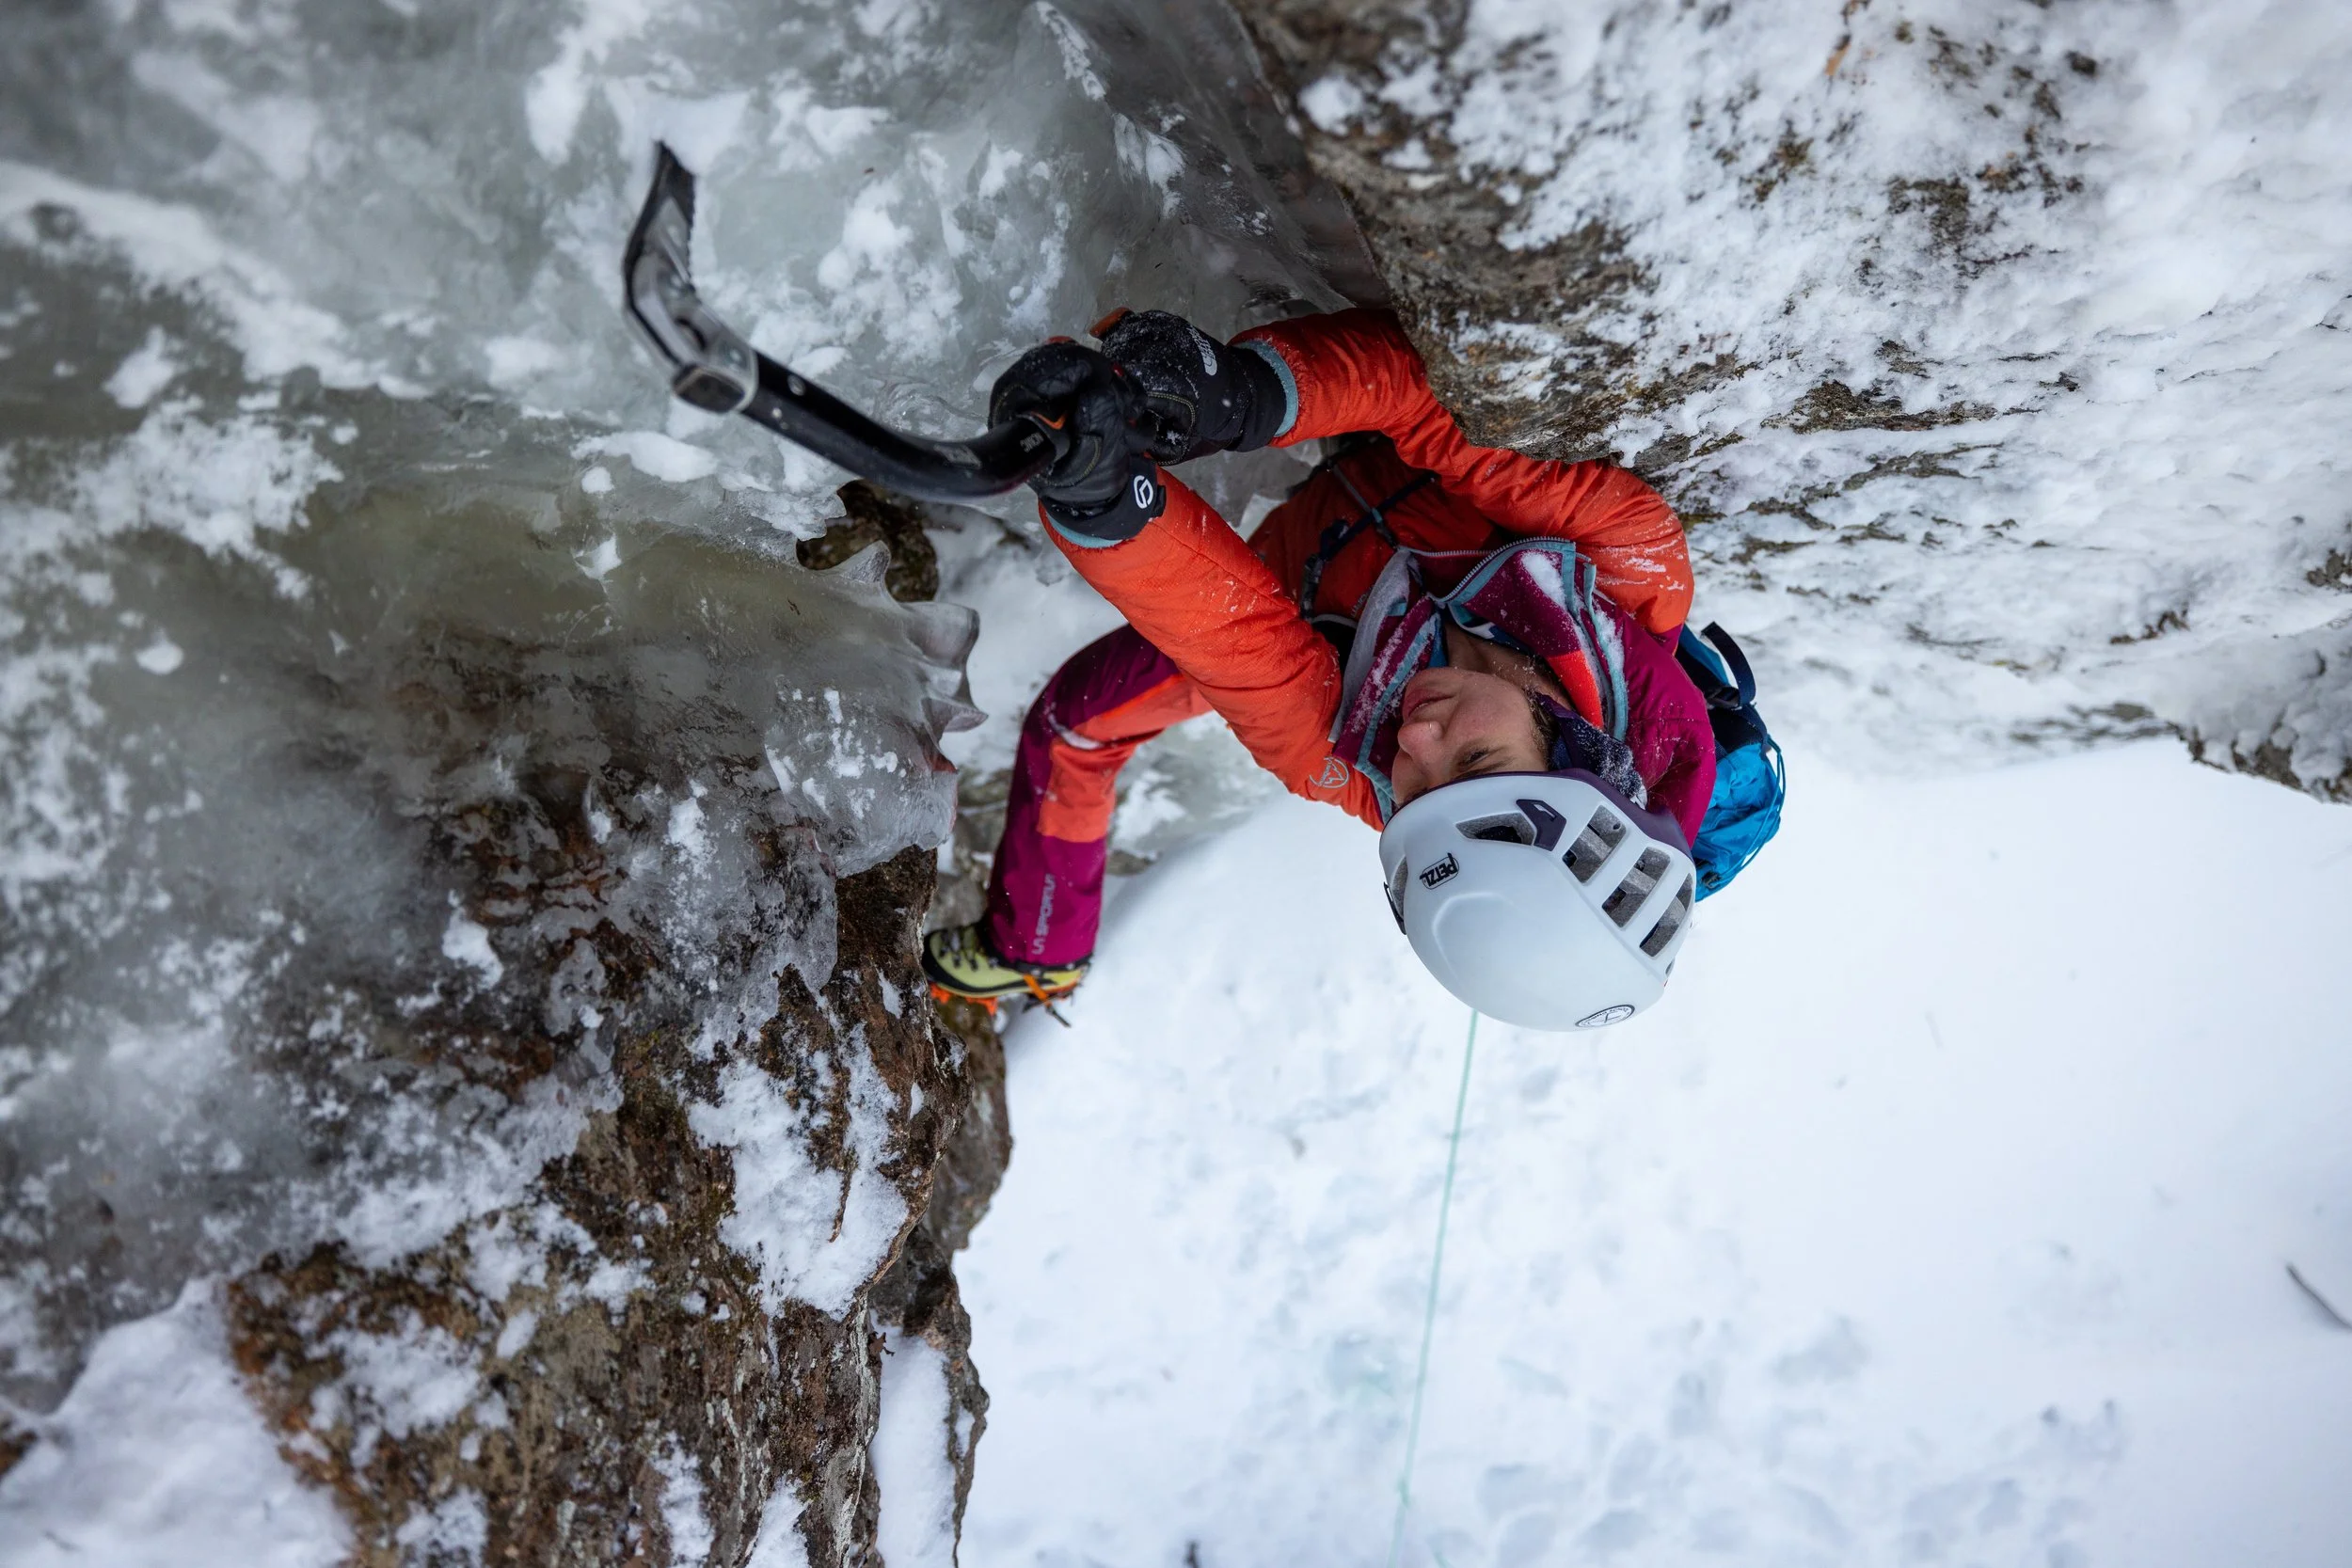
I was able to get it stitched up and it was not to bad to climb with but manipulating carabiners and gear was hard with my right hand. So I tried to keep most of that work to my left hand. It is interesting the things you notice with a bad thumb. The climb Repentance is mostly left handed placements and there is one hand jam that also happens to be a left hand.

Photos by Austin Schmitz

Photos by Austin Schmitz

I ended up only ripping out 2 of the stitches over the last 7 days. So it is healing fairly well all things considered.

 …Through all this I have learned opposable thumbs are pretty key to our climbing ability!

Van Life

#vanlife …

So I have done it. I bought a van. Built it out. and now have to post about it. That is what you do right?

I purchased the van in mid September off the lot. Sold my Fourwheel Camper, and had to build it out as fast as I possibly could since I stay in it for my job quite often. So here are some photos of the process.

I bought it from a Freightliner dealer in South Carolina. It is a 144 wheelbase with high roof and 4×4.

The first trip I did in it was to the New River Craggin Classic and I had just gotten it so I used NRS straps and put my grandfathers old recliner with a small table and a crash pad to sleep on. It worked, but I was psyched to get back and start doing the mod.

And so the process begins:

For insulation I used rattle trap on as much of the paneling as i could and then used reflectix and then thinsulate

Cutting a hole in the top of a brand new van is a big gripping. I went with the Max fan due to its ability to be opened in the rain. I used plywood for the interior build out. I stained it with a poly stain that keeps most of the original color. The walls are 1/4 inch with everything else being 3/4 inch.

I put in butcher board for the counter top and went with a hand pump for water and sink. I also insulated this well so that it will be less likely to freeze while I am shredding the nar. The vehicle came with an auxilary battery but I went ahead and put another under the drivers seat. I also added one 80w solar panel to the top from RB Components. I then had Jason over at OGRE (a local shop) make rock sliders, a rear bumper, and install a front bumper from Backwoods Adventure Mods. He also put all the rescue and led lights on!

And for the finished interior look:

IMG_3526-680x382.jpg

2012 Fourwheel Camper For Sale (SOLD)

2012 Eagle Fourwheel Camper For Sale

$10,400

!!!!!SOLD!!!!

I am selling my camper that fits on a mid sized truck. Please contact me at karstendelap@yahoo.com.

This is a shell model that was customized. I have used it to hang out in the mountains for weeks to ski and climb.

Mechanical Camper Jacks (4 corner)

Upgrade to Aluminum Jack Brackets

Furnace w/ propane tanks & cabinet

Power Roof Vent (Fantastic Fan)

Screen Door

8′ Side Awning

Side Awning Light

Rear Awning

Yakima Roof Racks (Track System) Standard 5 foot Length w/ locks

Rear Wall Steps

Rear Wall Bike Rack

Solar Panel Wiring

Solar Panel

LED Interior Light Upgrade

Rear Flood Lights (LED)

LED Exterior Lighting Package

Arctic Pack (for cold weather)

Aux. Battery System

Hawk or Eagle Roll Over Couch/Bed

12V Accessory Outlet Plugs

Privacy Curtains

Gas Strut Roof List Assists

Drill Bit Adapter for Mechanical Camper Jacks